Shot sizes and camera angles: how to classify photos and videos correctly
By teamnext Editorial Team
Knowing the correct terms for shot sizes and camera angles helps classify and tag photographic and film content more precisely. This improves the findability of digital assets and creates a shared understanding that supports clearer communication in creative workflows.
Clear and unambiguous terminology increases efficiency in media organisation. This is essential in professional contexts such as film production, stock agencies, and media archives. Controlled vocabularies help ensure consistent use of terms.
This article covers core shot sizes and camera angles that matter in both photography and film. With this knowledge, users of a DAM system can tag new visual material such as photos, videos, and footage in a systematic and correct way.
What are shot sizes?
Shot sizes are defined by framing, the distance between camera and subject, and the zoom factor. They determine how much of a subject and its surroundings are visible in the image. The range extends from wide shots to extreme close ups.
The chosen shot size affects meaning and impact because it guides attention and sets emotional or narrative emphasis. A deliberate understanding and targeted use of shot sizes is therefore a key tool of visual design.
The five most important shot sizes
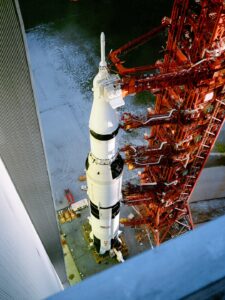
1. Long shot
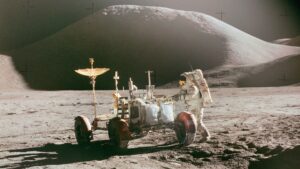
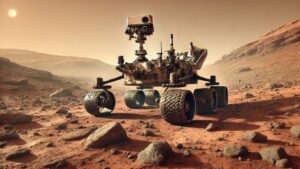
The long shot shows the entire scenario and provides an overview of the surroundings and the position of the characters in it. This field size is ideal for introducing a scene or showing landscapes.
Sample image long shot
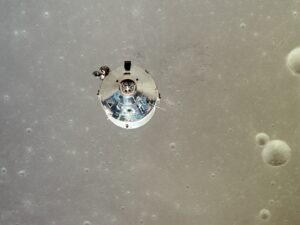
2. Medium long shot
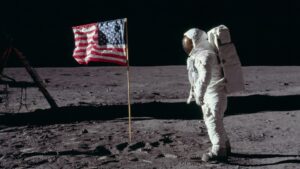
The medium long shot shows people or objects in their surroundings, whereby details remain recognizable without being too close. This field size is often used in conversation scenes where the interaction between the characters and their surroundings is important.
Sample image medium long shot
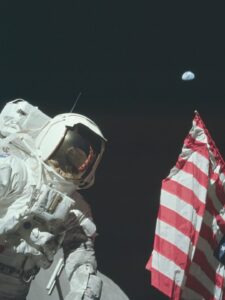
3. Medium shot
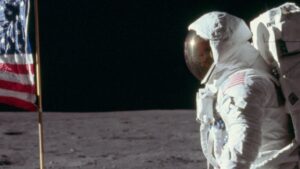
The medium shot shows people from the waist up. It is well suited for dialog and interactions, as both posture and facial expressions are clearly visible, unless you happen to be wearing a spacesuit 😉
Sample image medium shot
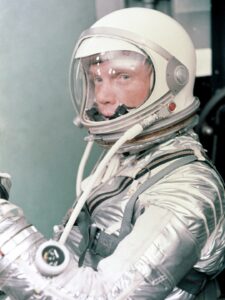
4. Close-up
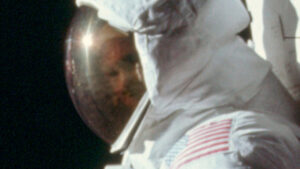
The close-up focuses on the face or a specific detail. It is ideal for emphasizing emotions or important objects. In this example, it is Buzz Aldrin’s face that is hidden behind the helmet visor.
Sample image close-up
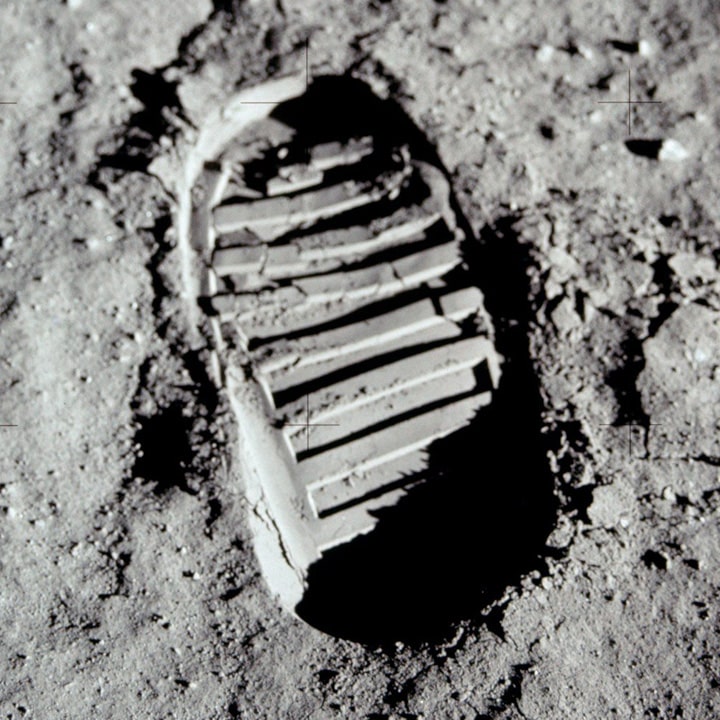
5. Extreme close-up
The extreme close-up gets even closer and only shows a small part of the face or object, such as an eye or a hand. It is used to draw special attention to a particular detail. In our example, it is the imprint left by Buzz Aldrin’s boot on the surface of the moon.
Sample image extreme close-up
The 6 most important camera angles
In addition to the field sizes, the camera angles also have a significant influence on the effect of an image. They determine how the subject is perceived from different angles. In the following section, we will introduce you to the 6 most important camera angles.
1. Eye-level shot
As the name suggests, this perspective shows the subject at eye level. It appears neutral and natural, as it corresponds to the human way of seeing. The eye-level shot is therefore often used in interviews.
Sample image eye-level shot
2. Low angle shot
In the low angle shot, the camera looks up at the subject from below. This perspective makes the subject appear larger, more powerful and often more threatening. It is often used to emphasize authority or superiority.
Sample image low angle shot
3. High angle shot
The high angle shot shows the subject from above. This perspective can make the subject appear smaller and weaker. It is often used to emphasize inferiority.
Sample image high angle shot
4. Bird’s eye view
The bird’s eye view looks vertically at the subject from above. It is often used to provide a complete overview of a scene or landscape.
Sample image bird’s eye view
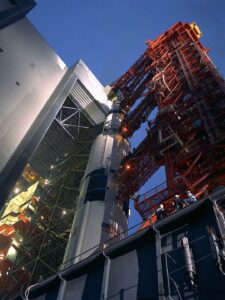
5. Worm’s eye view
The worm’s eye view shows the subject from the very bottom, almost from the ground. It can make objects appear particularly large and imposing and is usually used to enhance the effect of the subject.
Sample image worm’s eye view
6. Dutch angle
The Dutch angle view is achieved by tilting the camera. This perspective creates a feeling of unease, tension or disorientation and is often used in scenes that are intended to depict an unstable or emotionally charged environment.
Sample image Dutch angle
Conclusion
A precise understanding of shot sizes and camera angles supports accurate tagging and categorisation in a DAM system. This improves structure in the archive and increases reuse of photos and videos in content workflows.